
Install a Split System Air Conditioner Safely by using licensed professionals, correct mounting, and precise refrigerant handling to protect performance and warranty. A careful, code-compliant installation prevents leaks, vibration, and premature failures.
Steps on How To Install a Split System Air Conditioner Safely
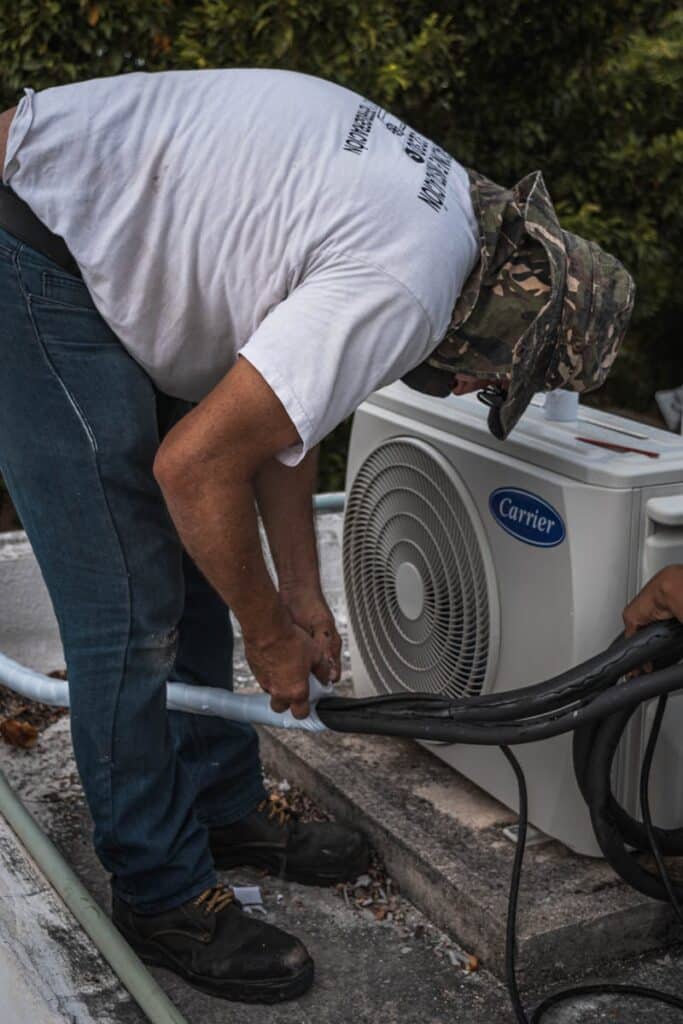
1. Engage a Licensed HVAC/Electrical to Install a Split System Air Conditioner Safely
Licensed pros handle refrigerant, electrical isolation, and compliance documentation. Professional installers also size cable/breaker correctly and run pressure and leak tests for reliability. Always verify their licence and request compliance certificates for peace of mind.
2. Choose Proper Mounting and Clearances
Use a solid wall mount with anti-vibration pads and maintain manufacturer-specified side/top clearance. Correct spacing ensures airflow, reduces noise, and simplifies filter access for routine cleaning. Level mounting also prevents drain and vibration issues.
3. Route Refrigerant and Condensate Correctly
Keep line sets within length/height limits, insulate thoroughly, and slope the drain with a trap where needed. Clean routing prevents sweating, water leaks, and capacity losses. Concealed piping should remain accessible for future servicing.
4. Evacuate, Pressure-Test, and Charge Precisely
Nitrogen pressure test, deep vacuum to required microns, and charge to spec when line lengths exceed pre-charge. Proper commissioning preserves efficiency and reduces compressor stress. Record readings for future maintenance reference.
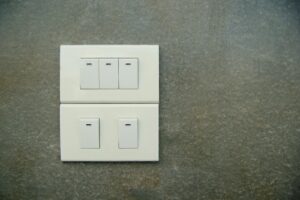
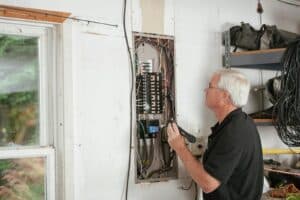
5. Verify Electrical and Control Settings
Fit a dedicated circuit, RCD/RCBO protection, and earth bonding as required, then set modes, fan speeds, and temperature ranges. Correct electrical setup and controls deliver safe, stable operation from day one. Confirm remote pairing and display calibration.
Pro Tip: Ask the installer to provide before/after pressure and vacuum readings with photos—clear commissioning evidence helps with future diagnostics and warranty claims.


